
When working on crafts, sewing, or any project that requires printing patterns, ensuring that your patterns print at the correct size is crucial. A common issue many face is the pattern resizing or distorting during the print process, which can lead to inaccurate sizing and ultimately, project outcomes that don’t meet expectations. Here’s how you can ensure your patterns print at the correct size every time.
Step 1: Prepare Your Pattern File
Before printing, make sure your pattern file is ready and saved in a format compatible with your printer. PDF is often the best choice for pattern files because it maintains the integrity of the design across different devices and printers.
Step 2: Open Your Pattern with the Correct Software
Open your pattern file using software that allows you to view and print PDFs accurately. Adobe Reader is a popular choice because it offers detailed print settings that can help ensure your pattern prints correctly.
Step 3: Access Print Settings
Once your pattern file is open, go to the print settings. This is usually done by clicking ‘File’ > ‘Print’ or by pressing the print icon.
Step 4: Select the Right Printer
Make sure you’re printing to the correct printer. If you have multiple printers connected, select the one you intend to use from the printer options.
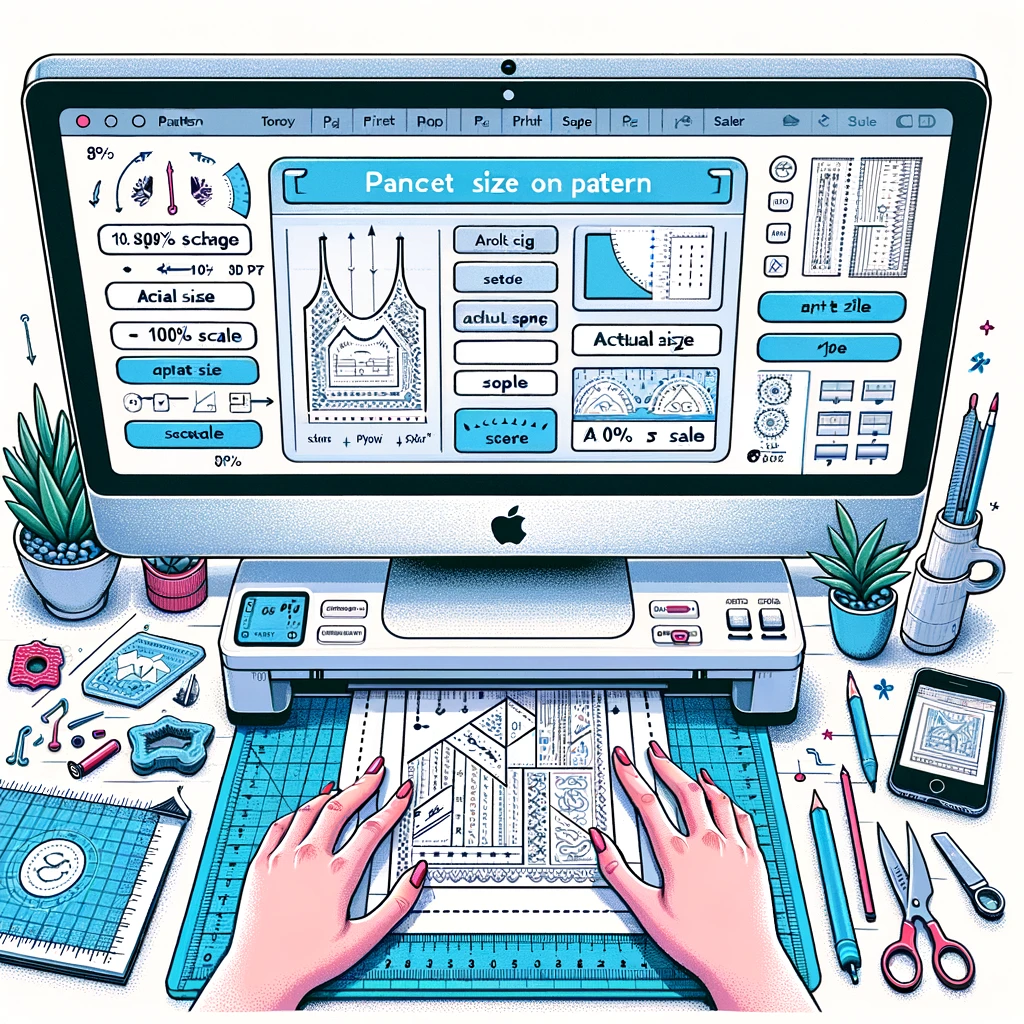
Step 5: Adjust Print Scale Settings
This is the most crucial step to ensure your pattern prints at the correct size:
- Look for the scaling options in your print settings. You’ll often find options such as ‘Fit to Page,’ ‘Shrink Oversized Pages,’ or ‘Custom Scale.’
- To ensure the pattern prints at the correct size, select ‘Actual Size’ or set the scale to ‘100%’. This will print your pattern without any resizing or adjustments, maintaining its original dimensions.
Step 6: Print a Test Page
Before printing the entire pattern, print a test page if possible. This might be a small section of the pattern that includes a test square or ruler to verify the scale.
Step 7: Check the Test Print
Measure the test print with a ruler to ensure the dimensions match those of your digital pattern. If the test print is accurate, proceed with printing the rest of the pattern. If not, double-check your print settings and adjust as necessary.
Tips for Success
- Use Quality Paper: For patterns, standard A4 or Letter size paper works well, but ensure it’s of good quality to prevent feed issues or ink smudging.
- Ink Levels: Check your printer’s ink levels before starting to avoid any print quality issues partway through.
- Printer Maintenance: Ensure your printer is in good working condition, as maintenance issues can affect print quality and accuracy.
By following these steps and paying close attention to your print settings, you can print patterns at home with confidence, knowing they’ll come out at the correct size every time.
This guide aims to simplify the process, making your next project easier and more accurate from the start. Contact us for any problem you are having. Happy crafting!